Making good solder connections
Good soldering connections are key to a successful custom cockpit build. Poor quality solder joints result in intermittent issues, particularly when working with 7-segment displays.
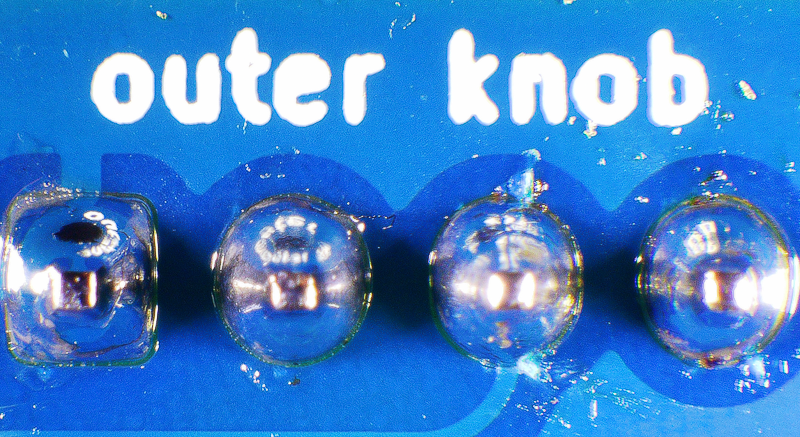
High-quality connections look like this:

YouTube has several tutorials that provide a short but thorough introduction to proper soldering technique. The following video is a good reference for soldering through-hole components.
Soldering tips
Use the correct soldering iron temperature
A soldering iron set to too low a temperature makes it difficult to melt the solder and results in pins that are poorly connected to the board pads. These temperatures are a good starting point:
| Solder type | Celsius | Fahrenheit |
|---|---|---|
| Lead-based | 315–370° | 600–700° |
| Lead-free | 350–400° | 660–750° |
The higher end of the temperature range may be necessary when soldering ground pins.
Use high-quality solder
Solder purchased from sites like AliExpress, although inexpensive, is often low in quality and can lead to frustrating soldering experiences. Always choose a reputable brand with high ratings and positive reviews.
Add flux
Most solder includes a core of flux, which is sufficient when making new solder connections. When reworking existing connections, adding additional flux with a rosin flux pen to the existing joint can dramatically improve the quality of the soldering. Applying flux is also helpful when removing excess solder from a joint.

Clean the soldering iron tip
Keeping a soldering iron tip clean is crucial for achieving strong, reliable solder joints. A clean tip ensures efficient heat transfer, allowing the solder to flow smoothly and bond properly with the components.
Regularly wiping the tip on a damp sponge or brass wool and re-tinning it with fresh solder helps maintain a clean, well-functioning tip, ensuring consistent results.
Apply heat to the joints
Make sure the soldering iron is applying heat directly to the component lead and the board pad before applying the solder. Heating the solder directly with the iron, and not heating the leads or board pad, results in a poor quality connection.
The two most common issues with soldered connections are cold or incomplete connections and shorted connections.
Cold or incomplete joints
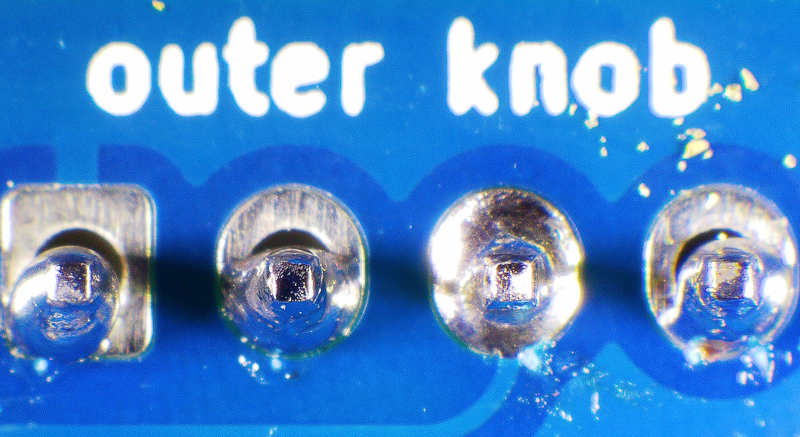
Cold or incomplete connections occur when the soldering iron temperature was set too low, the soldering iron tip was dirty, or enough solder wasn’t applied. These joints look like this:

To resolve the issue, apply a bit of flux to the existing connections and reheat the joints, applying more solder as necessary.
Shorted connections
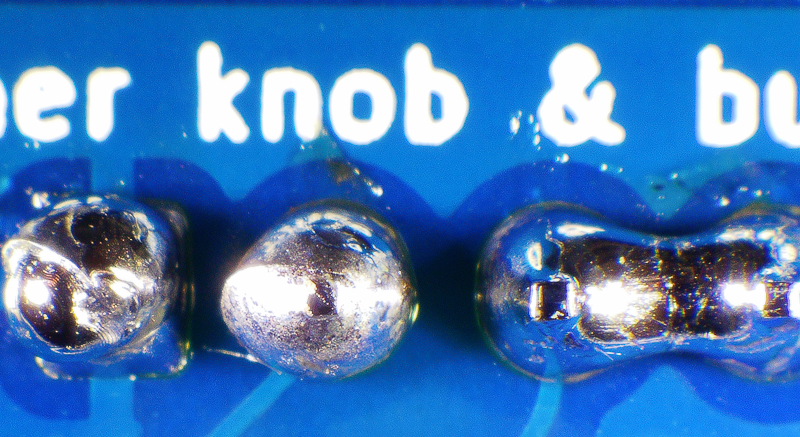
Shorted connections occur when too much solder is applied, forming a bridge between two adjacent pins. These connections are sometimes subtle, resulting from a small solder connection between the pins. Excess solder on a pin can also cause intermittent bridging when the board is flexed or moved.

To resolve the issue, apply a bit of flux to the shorted connections and reheat the joints with a clean soldering iron tip. Pull the iron away from the joint, taking some of the excess solder, and repeat as necessary until the short is removed. Make sure to clean the soldering iron tip every time before reheating the shorted connection.